


Blog Content
Introduction
Hi! I am Karl Louise Rito - Rito in English (Here)
This blog post is about my overall experience at the Side Hustle Internship program that is base on Nigeria and its goal to equip the Nigerian youth with the right skill set needed to help them increase their chances of becoming employable turns me to browse on their website and click on apply.
Registration
Upon registration, I’ve been stuck on what to choose whether frontend or backend development. I think this question in my mind got stuck me for about an hour, but in the end, I choose backend because I’ve been practicing Laravel framework and I want to know the basics of PHP. Then that night, I’ve came across this video that to be a backend developer one must know first the frontend development, watching that video really impact my decision and the next day I came back then change my course to frontend. See Video 3 Reasons Why You SHOULDN’T Become a Full-Stack Developer.
I DO NOT HAVE ANY REGRETS 😊.
WEEK 1
Make a Tribute Page – 65/70
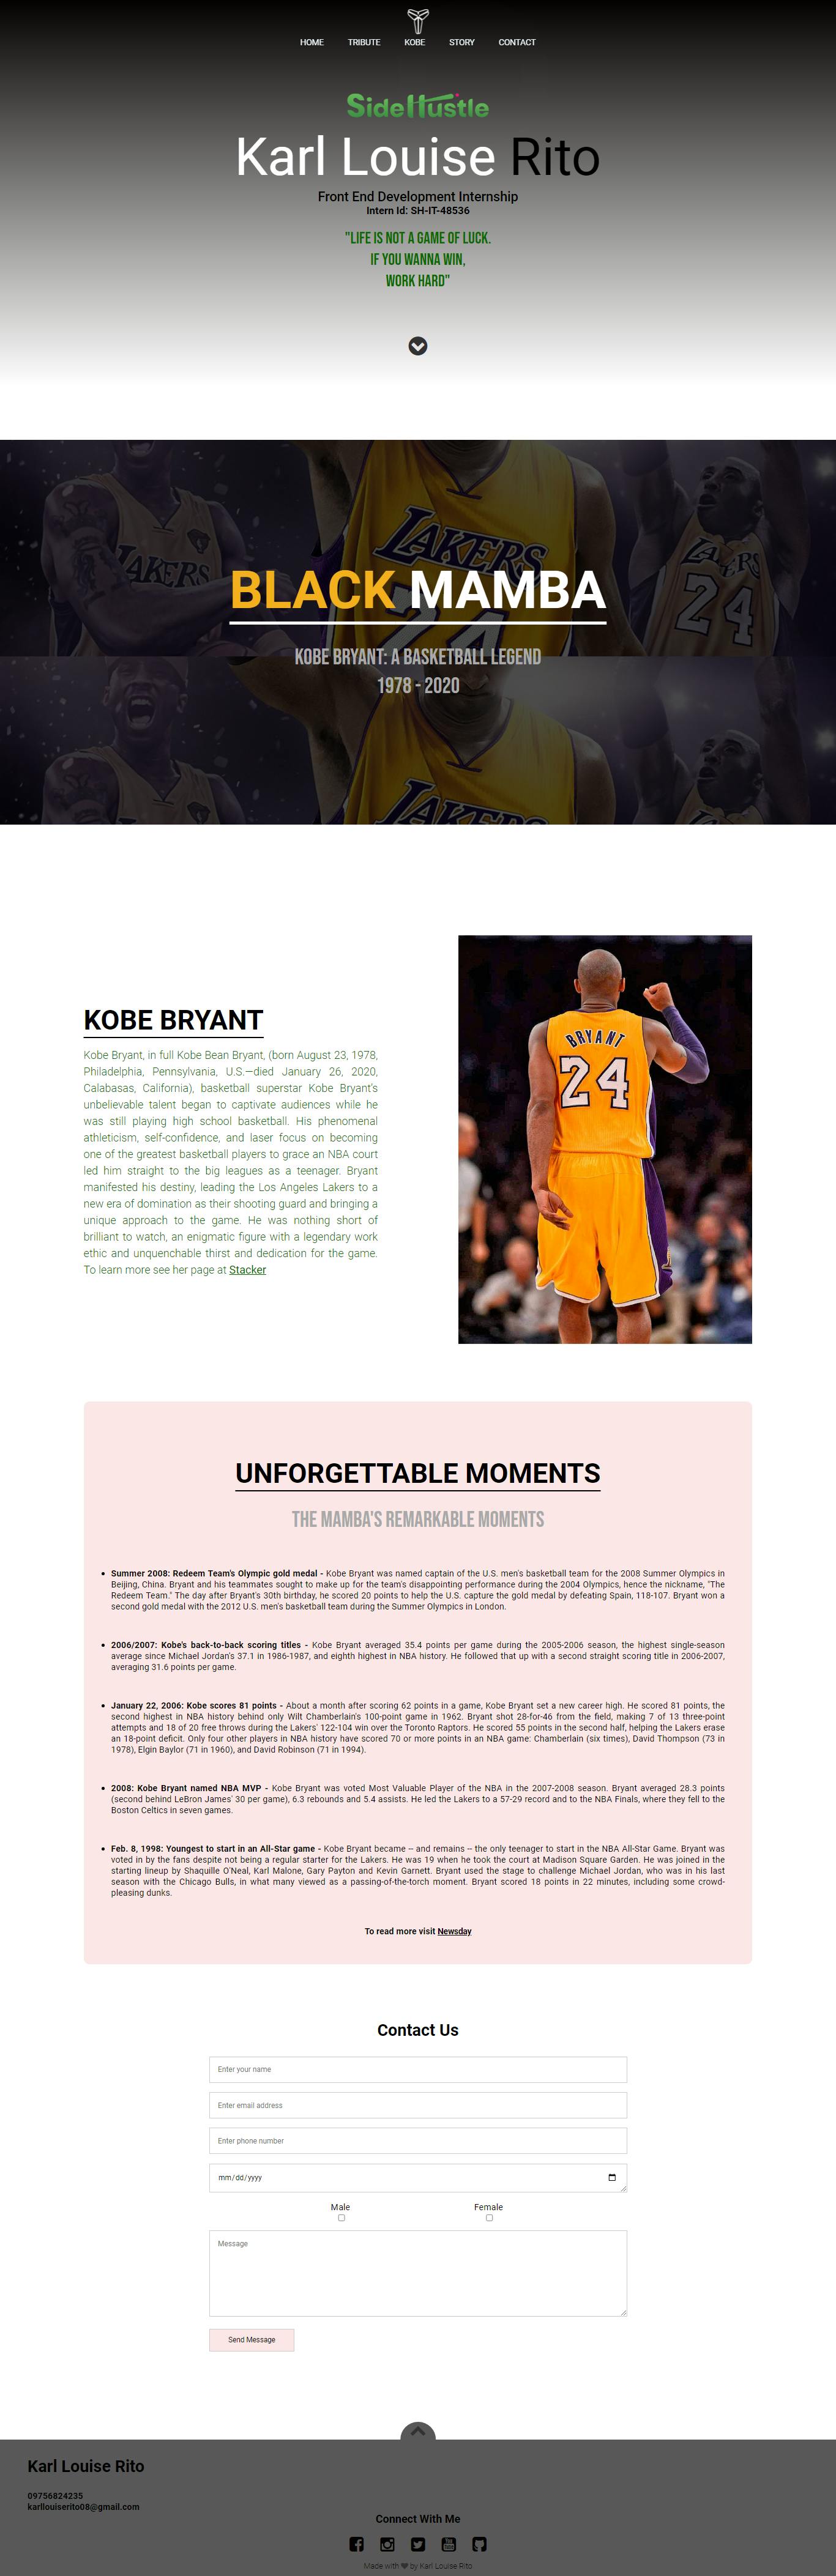
We’ve been tasked to do a tribute page for someone we admire and it must contain at least 20 html tags and include a form. The project does not need to be that styled with CSS because we are just to be graded by html but we are allowed if we wanted to, so, why not add some styling. The first thing I did was to think about my subject then after that work on the designs and content of my website and then I’ve made sure that the requirements have been met in my plan. It took me hours to finish the task, but I am satisfied in my work and I’m happy.
Other things I learned:
- HTML – Hypertext Markup Language
- CSS – Cascading Style Sheets
- Forms – html forms are used to collect user input to actually collect data it needs an action but this is a topic for backend development.
You can check my website here
You can star my GitHub repo
Full Screenshot of Tribute Page
WEEK 2
Clone a Website - 70/70
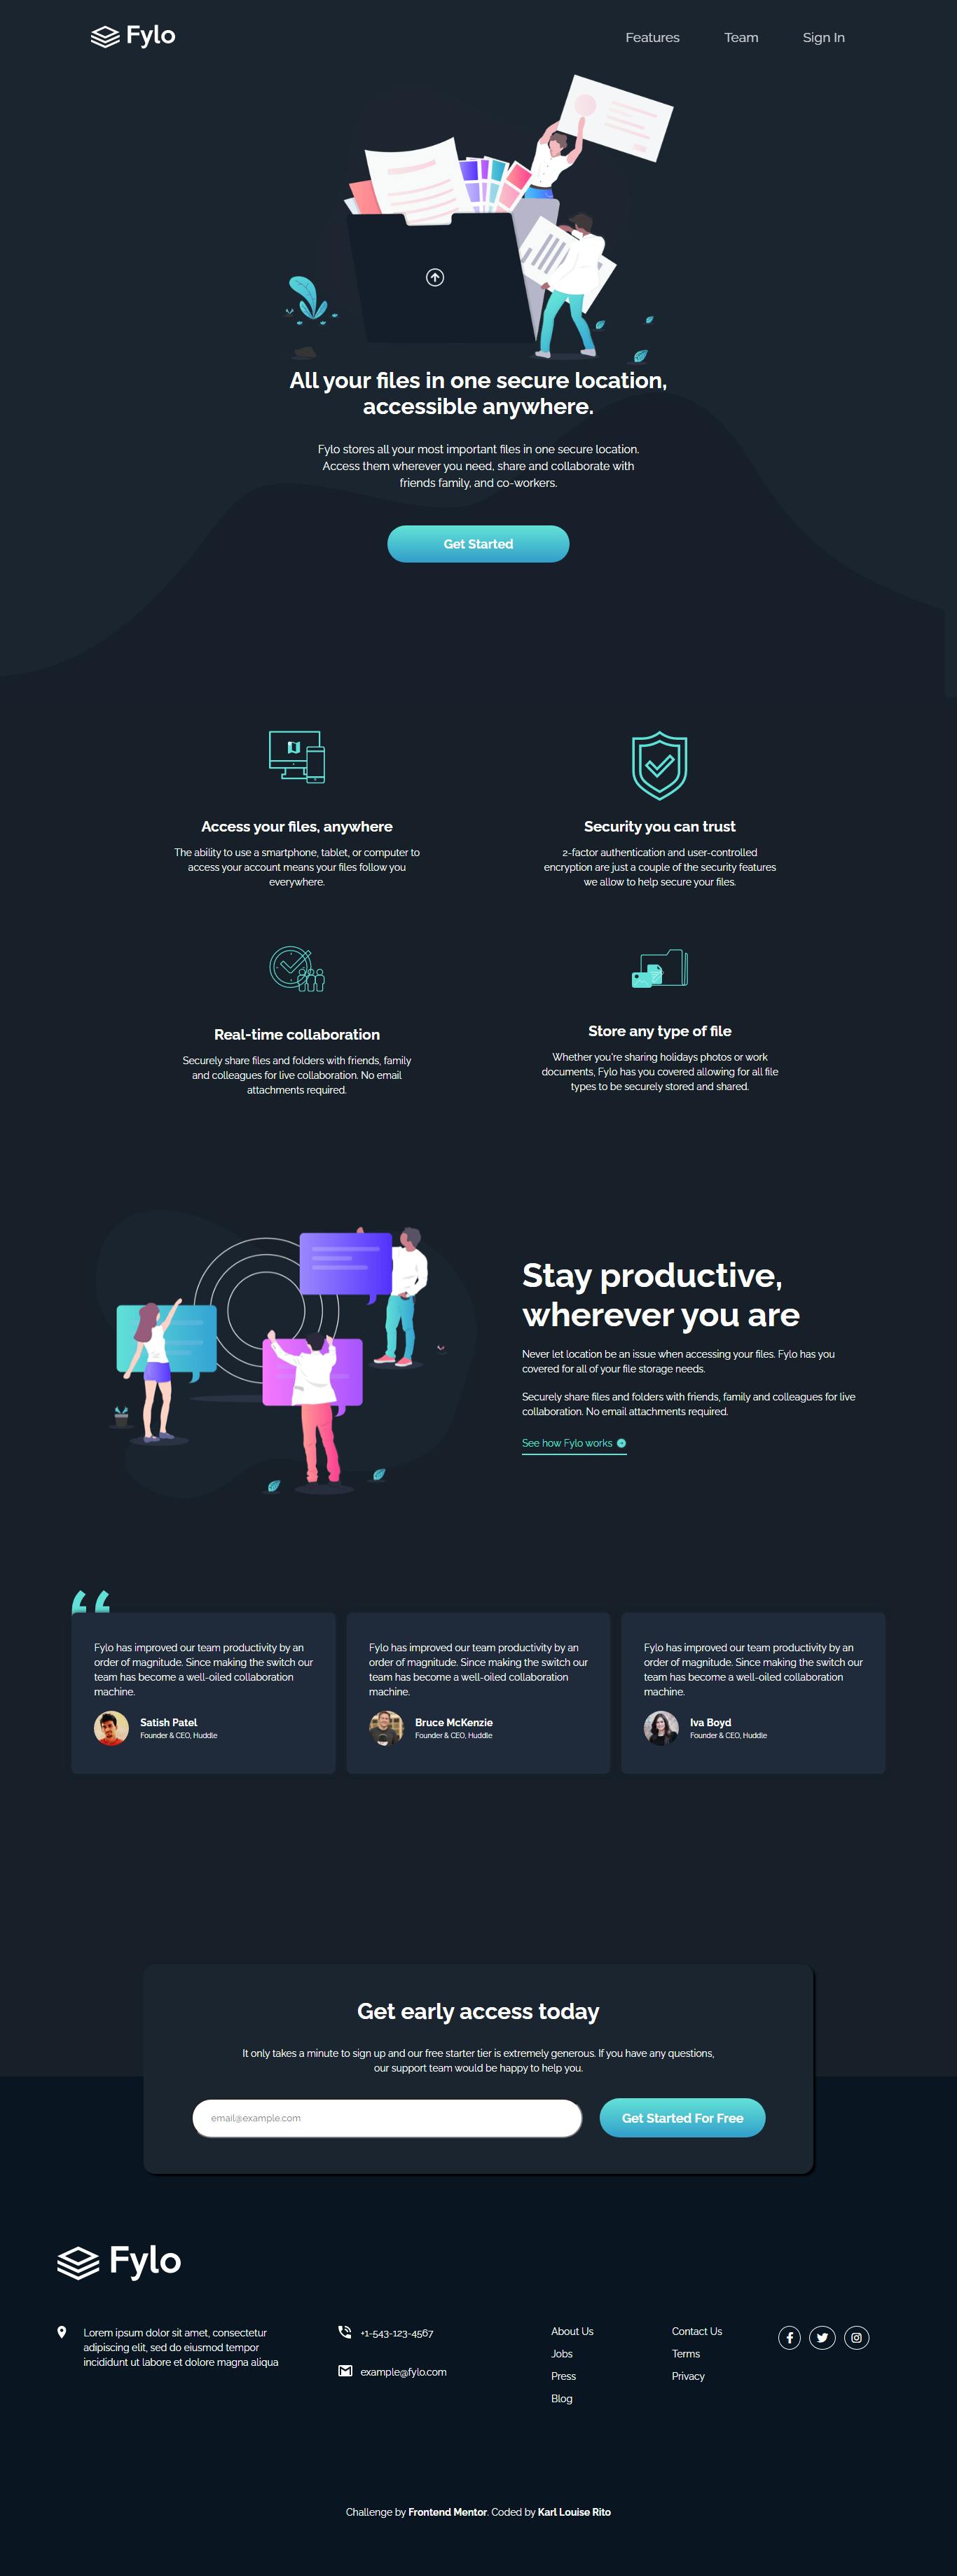
On this week, my skills on HTML and CSS is put on a test because the goal is to view the optimal layout for the site depending on their device's screen size and see hover states for all interactive elements on the page. You can check the challenge here Fylo-Dark-Theme-Page
But, I have this kind of thinking to
Finish what I've started
Because I believe the only thing that we are allowed to do is to never regret the choices we've made. And that's why I completed the challenge even though it caused me sleepless nights and I'm proud of it because it is the result of my hard work. It really is a great feeling when you've done a thing made by your hard work and dedication.
I didn't really understand much about CSS flexbox and CSS grid but after doing this challenge, my confusion on flexbox and on grids are now clear.
Other Things I've Learned
- CSS Flexbox - usually use for row and column and is a one dimensional layout model
- CSS Grid - for complex row and column and is a two dimensional layout model
- HTML Semantic Tags - I've learned this on the report of FrontEndMentor
Great Resources
Kevin Powell - helps me on understanding flexbox and grids he will teach you complicated things in a simpler way.
MDN Web Docs - great for knowing the real meaning of HTML/CSS properties.
You can check my website here
You can star my GitHub repo
Full Screenshot of Fylo Dark Theme Page
WEEK 3
Grade - 65/70
So here we are in Week 3! which means new Task, new Challenge, and new Learning.
The task is to do a JavaScript counter app and luckily I have done a similar task on Scrimba where I have built a simple passenger-app to be able to count how many passengers entered on the station (See app here passenger-counter-app). The app has a huge similarity where there is a button that increments when click the only difference is that the task have a count limitation and the passenger counter app have a save function and can save previous entries.
That's why I have completed the task without breaking a sweat.
The Challenge
- Build a JavaScript counter app.
- Clone this https://jsbeginners.com/wp-content/uploads/2019/05/counter-javascript-project.png
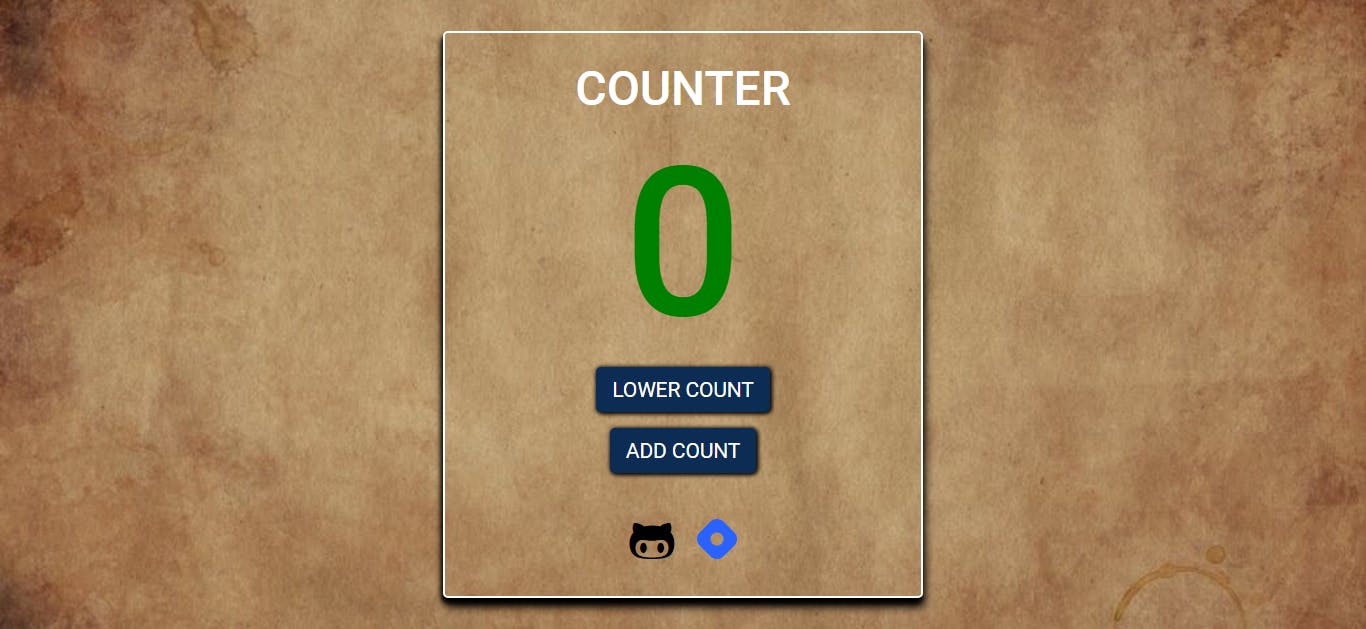
- The counter minimum value should be 0 and the maximum value should be 50.
- Submit GitHub link and hosted version.
My Process
The first thing that I did is created a layout, then make it look identical as much as possible. Then, analyze the fonts used on the image which I ended up using Roboto and for the challenging one which is the background where my research skills is tested I had to use google images to find the right one.
After that, I, now started to style to make it look good I use my snipping tool color picker to see if the colors that I'm using is accurate
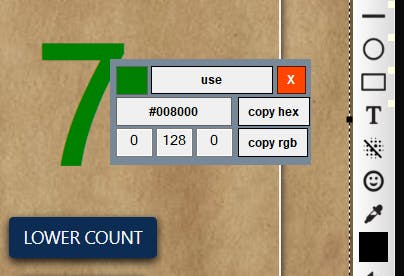
Then, I now proceed to the logic. To fetch the number and make changes to it I declared an id attribute to the p tag.
<p id="number">0</p>
- And to get the button working I have put an onclick attribute decrement and increment on the buttons.
<button class="btn" id="decrement-btn" onclick="decrement()">LOWER COUNT</button>
<button class="btn" id="increment-btn" onclick="increment()">ADD COUNT</button>
- On the main.js file I declared a new variable equals to the id="number" by using getElementbyId then create variable count to initialize the value = 0. Then make a function decrement() that have if and else statement wherein if count = 0 the count will stop and will alert 'Count cannot be less than 0' else you can still decrement the same as the function increment() there's an if else but the difference here is that if count = 50 the count will stop and will alert 'Count cannot be greater than 50' else keep adding.
Here is the code of my main.js file:
let number = document.getElementById("number");

let count = 0

function decrement() {
    if (count == 0) {
        alert('Count cannot be less than 0')
    } else {
        count--
        number.innerText = count
    }
}

function increment() {
    if (count == 50) {
        alert('Count cannot be greater than 50')
    } else {
        count++
        number.innerText = count
    }
}
- Lastly, added some hover, focus, and transform effects to look good and I have put an icon GitHub & Hashnode at the bottom to link it to my GitHub repository as well as my Hashnode blog link with a target="_blank" to direct user to new tab when click.
Other things I've Learned
- Link JavaScript code externally
- Think logically
- Search google images in a drag and drop way
- Center content using flexbox
You can play around the web-app here
You can star my GitHub repo
Full Screenshot of Counter App
Week 4
GRADE - 65/70
So, this is it! The final week of our internship and just to inform you that I’m already done on the task for this week when I’m writing this blog. And before I proceed on my farewell, appreciations, and my tearful message. Let me just tell you first my experience, challenge, and learnings on this week.
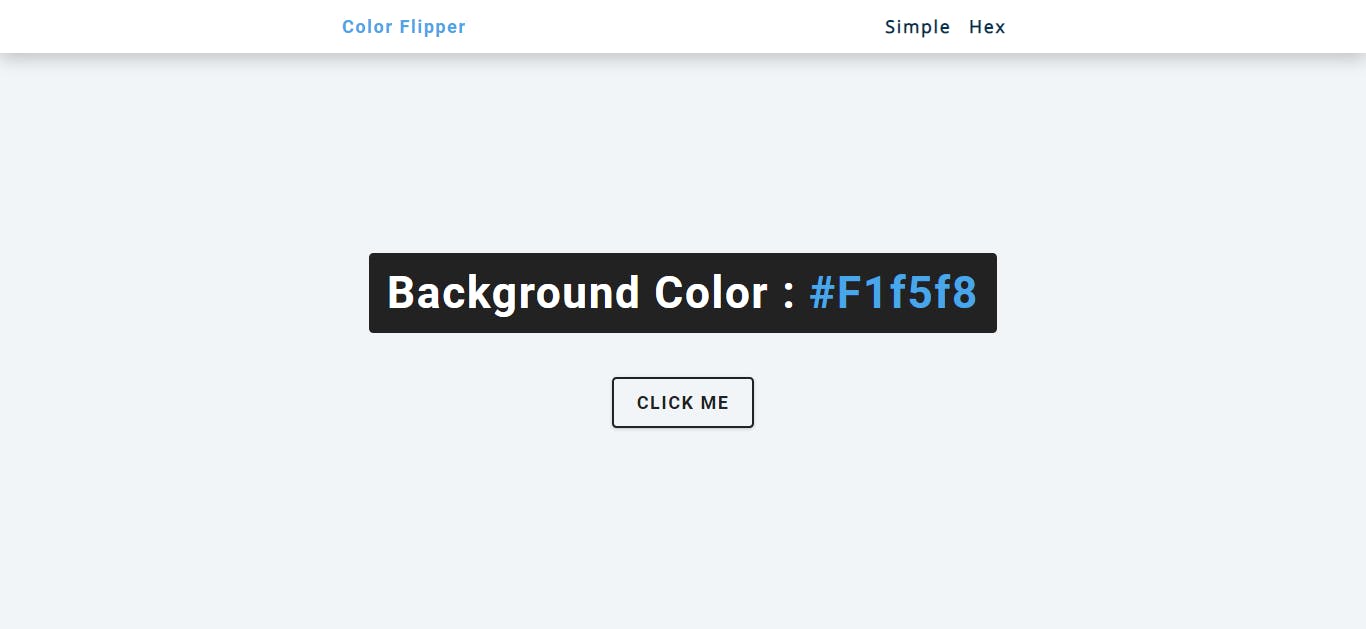
Challenge
On this week, we are given a task to make a color flipper app, and by making this app we must apply the concepts of arrays, document.getElementById(), document.querySelector(), addEventListener(), document.body.style.backgroundColor, Math.floor(), Math.random(), array.length, as well as click on event. And at the bottom part there is a postscript like this 'javascript-basic-projects/01-color-flipper/setup at master · Tunji545/javascript-basic-projects (github.com)'.
My Process
After reading the task, to be honest I have no idea what it looks like, what it does, simply I don't really know the color flipper app and then I've realized the task is not clearly defined and I think this is also a part of the challenge so with the little information by copying and paste the PS, I came across to this website john-smilga/javascript-basic-projects fork it to my repository and because of this, my development began...
After forking the repo, I have clone the app and I saw folders which is the final and setup.
In the final folder, the finished app is in there the logic, UI, but I want to be challenge. I commit to myself not to look at the JavaScript files because I want to know my capabilities as well as improve my critical thinking skills but to really know what I'm gonna be building I open it on my browser and just like that, surge of ideas entered my mind.
In the setup folder, there are files but it only provides you the html and css codes, not the JavaScript so, this is where I can get my hands dirty.
Coding Process
For starters you can play around the app of John Smilga Color-Flipper. Here you will see that there are 2 functionalities one for simple and for hex just like what is on the folder of setup there are 2 empty js files which is the app.js and the hex.js. In simple, the colors that is included are basic colors and represents readable/understandable text while on the hex colors the text used have some kind of codes (e.g., "#fff") for color white.
On the app.js I created an array of primeColors, then by following the challenge I fetch the value of main tag using querySelector() this is to change the background color and then, fetch the text that has color class using querySelector() this is to change the text according to what colors is changing on the background.
After initializing and fetching the values, I created a function changeColor() that can change background color when click, and also a function randomColor() where I can generate a random number in my case 0-9 because I have 10 primeColors in my array.
In order to do the randomColor() function,
- First I did a research about how Math.floor, and Math.random does.
- Console.log Math.random() and notice that it generates 0-1 numbers.
- Multiplied Math.random on my primeColors array and console.log and seen remarkable results.
- After knowing that the results generated 0-9 double numbers/numbers with decimals I used the Math.floor function to be able to round down the number and generate number exactly to 0-9 integer which is good because we all know that arrays starts at index 0.
- By getting the formula which is Math.floor(Math.random() * primeColors.length) I now put this in my randomColor() function with a return so that I am able to use this function.
This is what my app.js looks like...
const primeColors = ["red", "orange", "yellow", "green", "blue", "pink", "purple", "brown", "black", "white"];
const bgColor = document.querySelector('main')
const colorEL = document.querySelector('.color')


function changeColor() {
    bgColor.style.backgroundColor = primeColors[randomColor()]
    colorEL.textContent = bgColor.style.backgroundColor
}

function randomColor() {
    return Math.floor(Math.random() * primeColors.length)
}
By this code I am able to make changes on the text as well as the background color of the simple color flipper app.
Now for my Hex Color Flipper or hex.js file, thankfully there is an array provided there that contains 0-9 numbers as well as A-F letters.
const hex = [0, 1, 2, 3, 4, 5, 6, 7, 8, 9, "A", "B", "C", "D", "E", "F"]
When I see this, the first thing that comes to my mind is that I can use this to generate random hex codes which really is the right thing to do.
Now, the only thing that we have to do is to make these values generate into hex code format and declaring a variable which has a value of '#' because we all know that hex codes starts with hashtag.
Coding Process
- Just like on app.js I declared and fetch the values using querySelector() and getElementById() onto the document where I want to make changes.
const bgColor = document.querySelector('main')
const colorEL = document.querySelector('.color')
const btn = document.getElementById('btn')
- To meet all the requirements I've used addEventListener on the btn instead of using inline event handlers.
- Then, declare a variable with a value '#' because at the end of the day our hex code always starts with this.
- After that, I have set up a for loop that runs 6 times where I can get values on my hex array so that it returns correct hex value not having like these #A123456789BCDEFG instead it will run like these #E4516.
- Just like before we will use the formula function where we can get random number and then of course get the value with the certain index from my hex array.
- I also make sure that I've used += so that we don't override the value and the hashtag is will still be there.
Here is my code on hex.js file
const hex = [0, 1, 2, 3, 4, 5, 6, 7, 8, 9, "A", "B", "C", "D", "E", "F"]
const bgColor = document.querySelector('main')
const colorEL = document.querySelector('.color')
const btn = document.getElementById('btn')

btn.addEventListener('click', () => {
    let hexCol = '#'
    for (let num = 0; num < 6; num++) {
        hexCol += hex[randomNum()];
    }
    bgColor.style.backgroundColor = hexCol
    colorEL.textContent = hexCol

})

function randomNum() {
    return Math.floor(Math.random() * hex.length);
}
So because of this I have finished the task, and tried to host using Netlify and thankfully it runs smoothly :)
You can play around the Color Flipper Web-app here
You can star my color-flipper repo here
Full Screenshot of Color Flipper App
This is my scores on Quizzes from Week 1 - 4 which I did not include above.
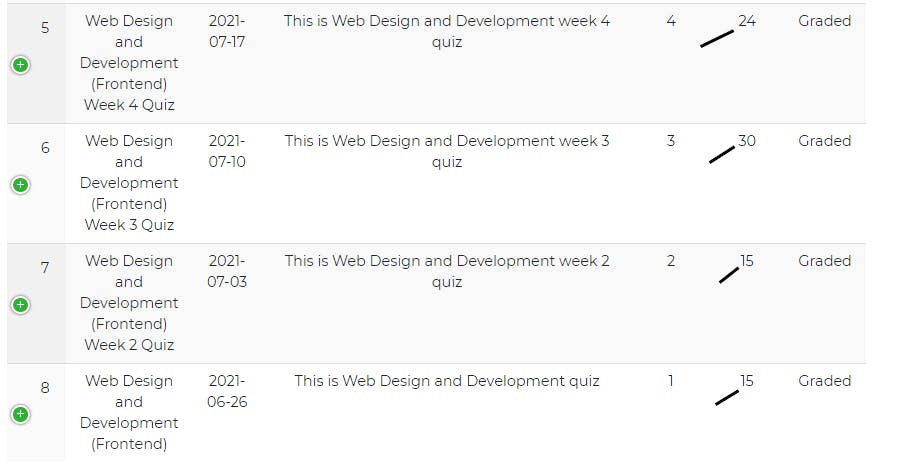
All in all, I have a total of 70 + 65 +70+ 65+ 24 + 30 + 15+ 15 = 354 points!!!/400
Conclusion
At last the weeks has come to an end, it was a great journey, it was an honor to know that I have come to know people with the same interest and I am thankful for all the people of Side Hustle for making this program possible.
I started this internship with only one follower on GitHub and I am glad I am able to have 6 more followers which I can rely on.
I am also thoroughly grateful for all the instructors for they have shown incredible composure on doing their job I really felt their passion to deliver their ideas where everyone can understand.
This internship is not just about getting a certificate and knowing frontend technologies, this is more on building connection with other people, knowing each others ideas, and learn from mistakes which is more special than that piece of paper.
Lastly, I want to thank to Oluwatobi Joshua for posting this on Facebook, you don't know how much I am grateful and because of that I am able to write this blog and enhance my skills on web development.
PS. I am planning to join the next cohort on backe... BRB :P
